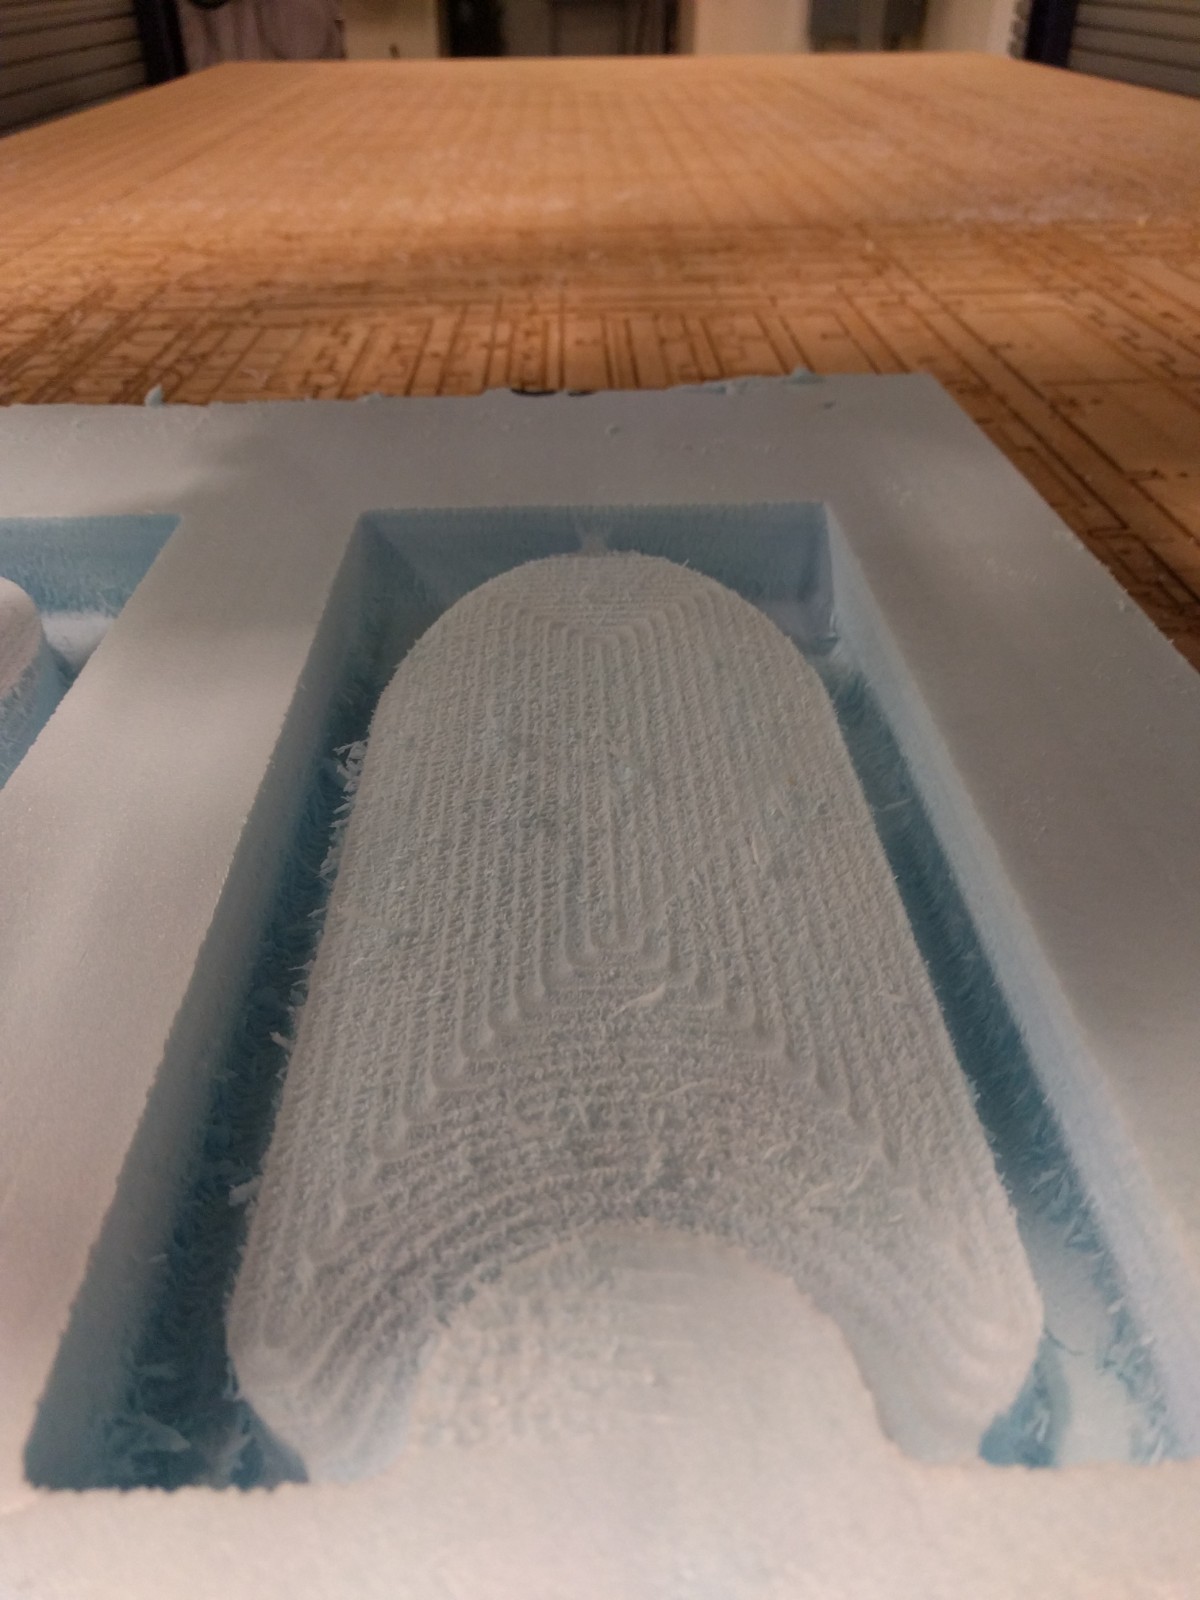
This page docments a bit of work to investigate alternative fabrics that can be used to do low cost composites. I started by milling the form for a bike fender using a roughing pass (0.5" endmill) and a finishing pass (0.25" endmill).
The actual form I ended up milling probably won't create the most effective fender but served as a good form with which to do comparative testing.

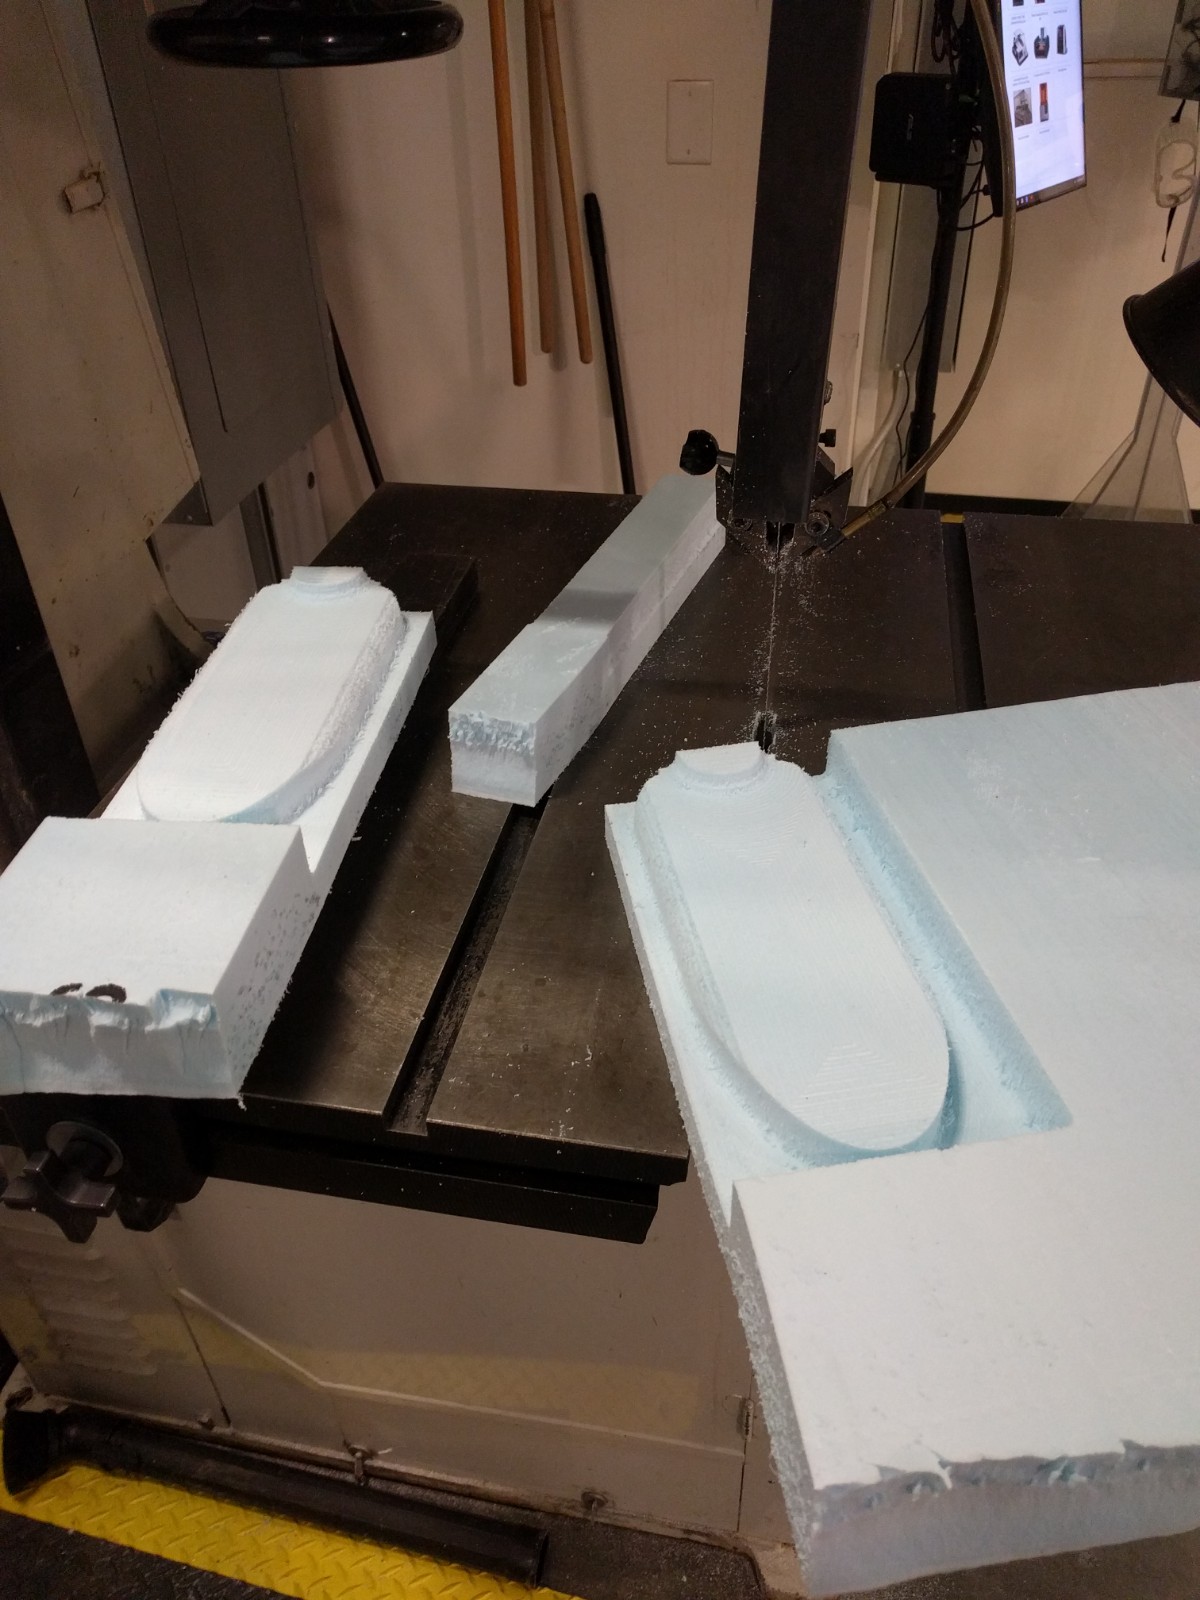
I cut up the forms using the band saw. I created the pattern for the fabric by extracting and unrolling surfaces using Rhino's 'unroll srf' command.
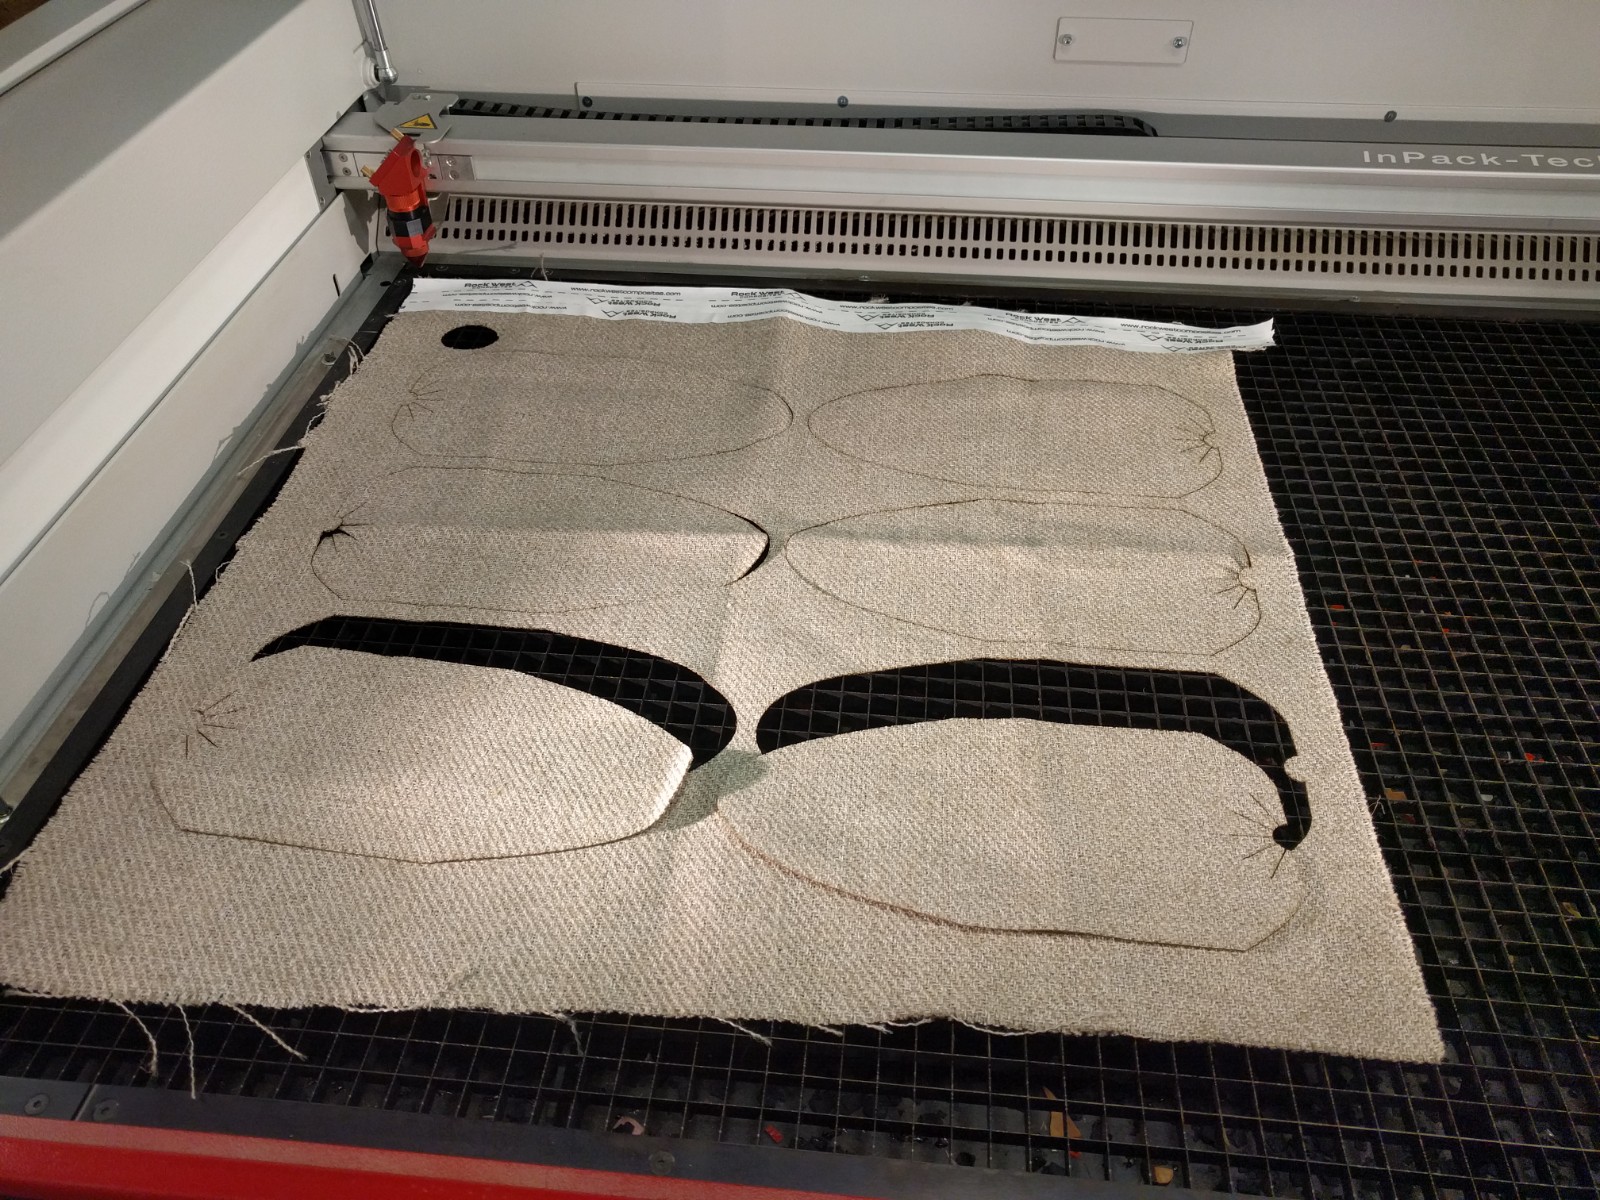
I tested a range of fabrics as shown below. Full compilation of photos of the lay up process is included at the end of this page. Qualitative and rough quantitative properties are presented in the table.
| Description | 2 layers of RockWest flax | 3 layers of RockWest flax | 3 layers of cotton canvas | 1 layer of upholstery inside a thin decorative cotton sandwich | 3 layers of upholstery | 3 layers of felt |
|---|---|---|---|---|---|---|
| Mass total | 58 grams | 69 grams | 82 grams | 68 grams | 81 grams | 85 grams |
| Mass of fabric | 20 grams | 30 grams | 40 grams | 17 grams | 34 grams | 14 grams |
| Mass of epoxy | 38 grams | 39 grams | 42 grams | 51 grams | 47 grams | 71 grams |
| Fabric as a % of total mass | 34% | 43% | 49% | 25% | 42% | 16% |
| Thickness | 2.2mm | 3.0mm | 3.0mm | 2.5mm | 3.5mm | 3.3mm |
| Comments | A little flexible. | A good number of layers for general composites. | Came out similarly stiff to the 3 layers of flax. | This came out realtively stiff, and looks nice too. | The upholstery that I bought was cheap, it contained some kind of polymer so laser cutting it generates some fumes. | Felt is fairly sparse and therefore soaks up a lot of epoxy during hand lay up. However much of this is squeezed out during vacuum bagging. Wasteful in expoxy by compacts nicely. |
| Material | RockWest flax | Red cotton canvas | Upholstery | Decorative thin cotton | Felt | Supersap expoxy $ per 100g |
|---|---|---|---|---|---|---|
| Cost per yard | $32.79 | $7 | $7 | $4 | $3 | $2.64 |
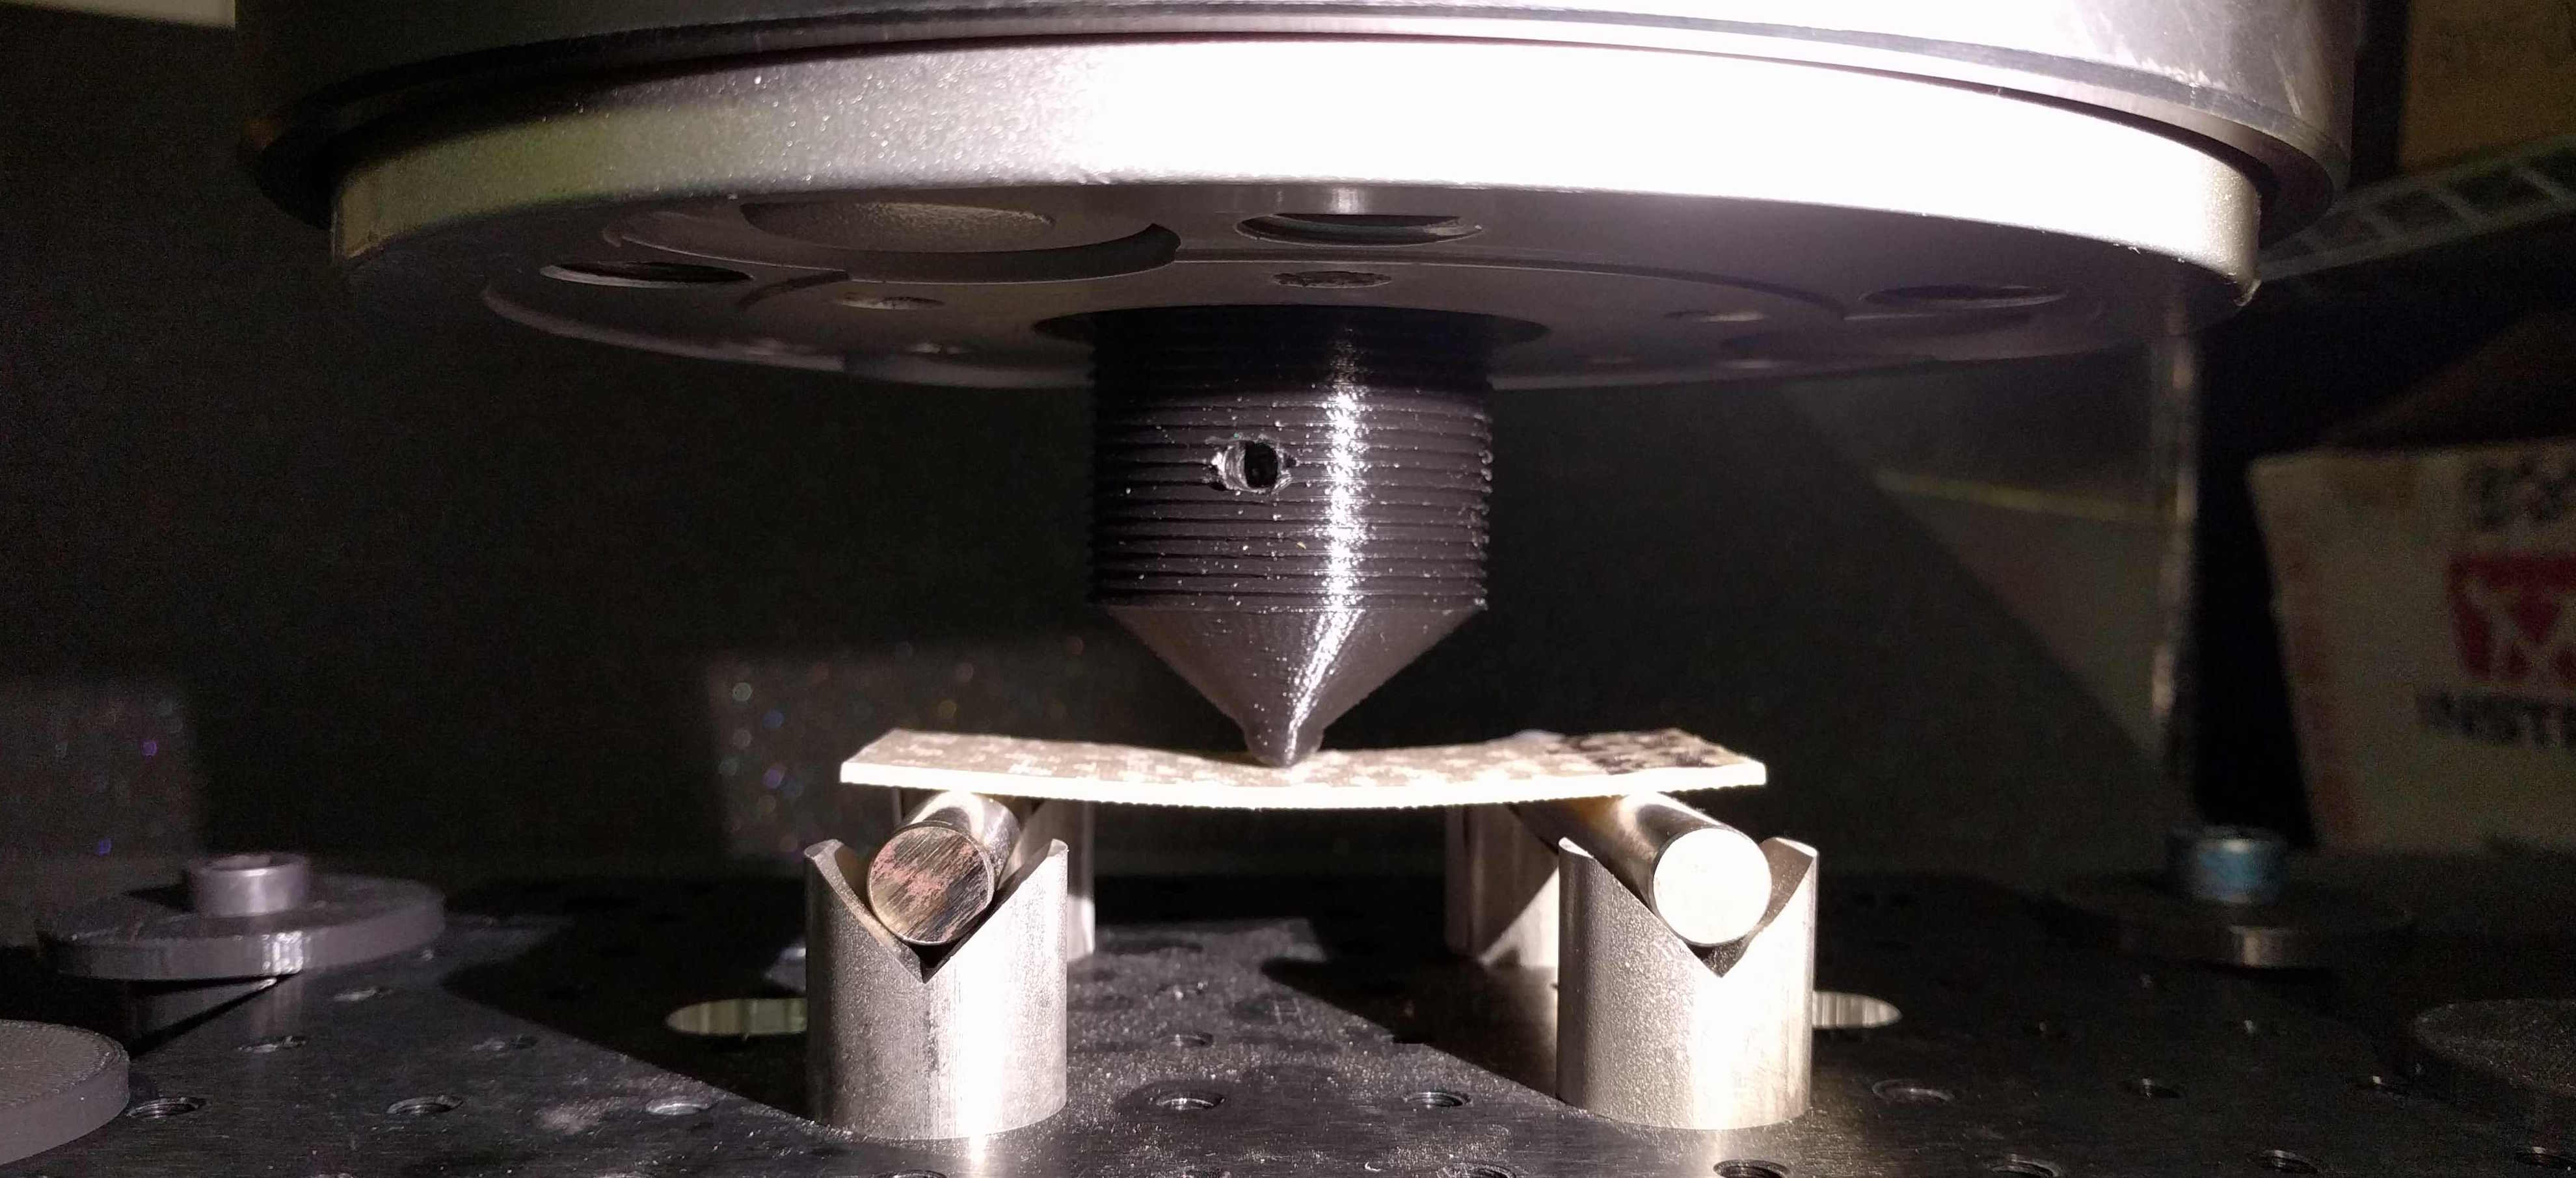
I cut the fenders into 40mm x 100mm coupons in order to carry out load testing. The small Instron seems to have finally given up the ghost so these samples were measured using the Instron 5985 with the 250kN load cell. Using a load cell of this size meant that there was more noise on the data collected. The fixturing for central loading fixture was 3D printed. This obviously introduced compliance into the setup however, for the purposes of this testing we only want to compare the stiffness of samples as opposed to extract absolute values for stiffness, therefore this setup is suitable for the current requirements.
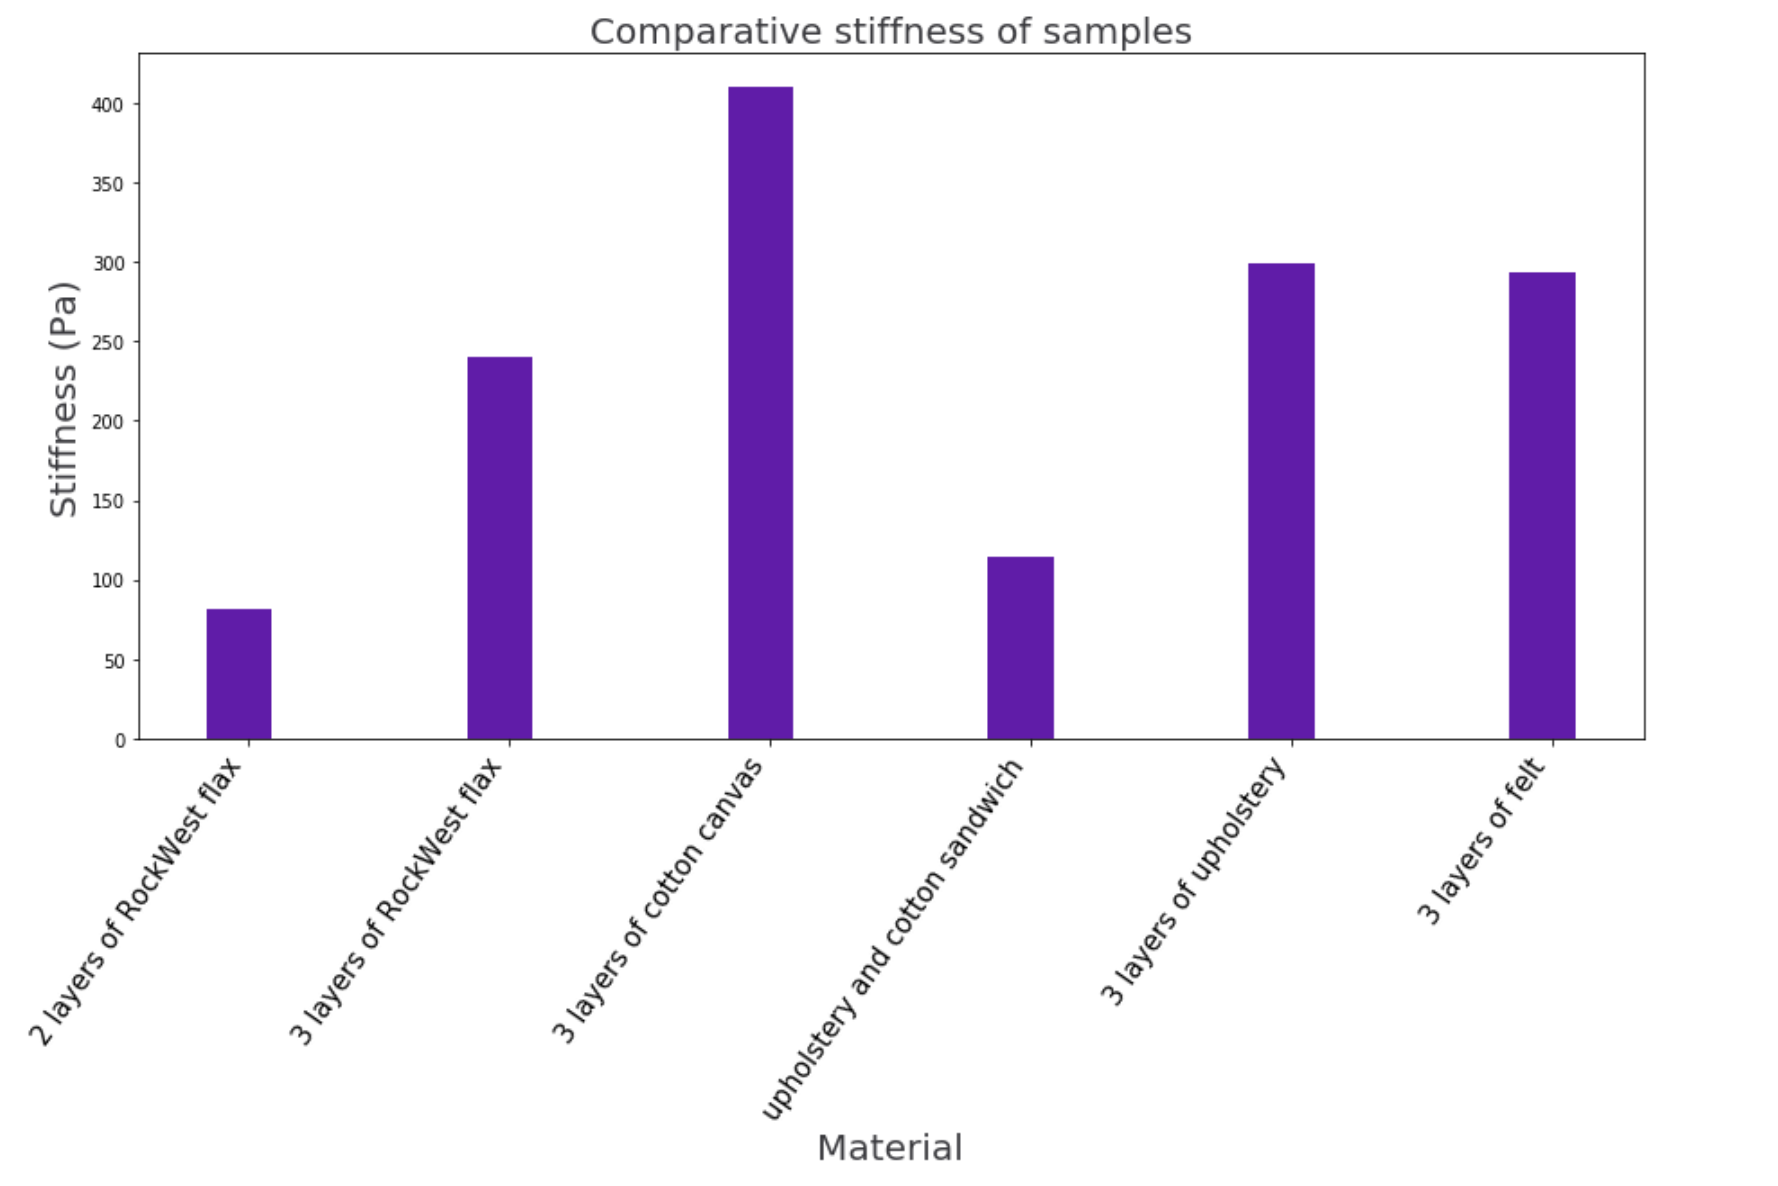
This graph was created in the Jupyer notebook titled coupon_test_round_3.ipynb. It shows that the canvas sample is the stiffest.
In this preliminary round of testing, the red cotton canvas test had the highest mass of fabric per total composite mass but also came out with the highest stiffness. The canvas is far cheaper than the flax. It did produce the heaviest of all the samples however given it's performance and cost, it seems to be the best material to proceed with.
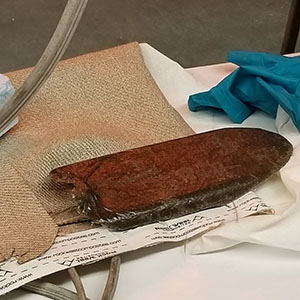 |
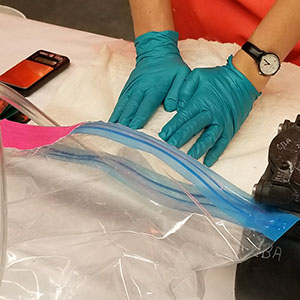
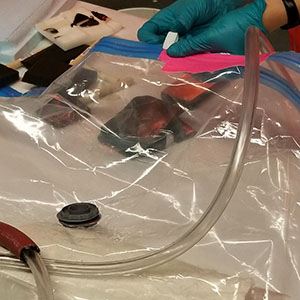
With her permission, I've borrowed these photos from Kwuang Yun Choi's class page.
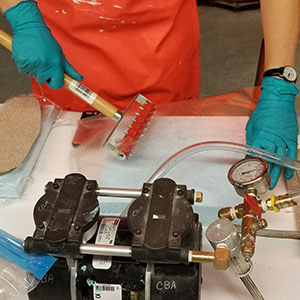
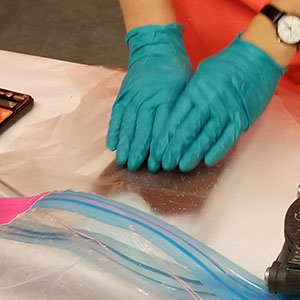
Get everything laid out before you start mixing epoxy including fabric, bleeder, breather, vacuum bag.
 |
 |
 |
 |
 |
 |
|
|
 |
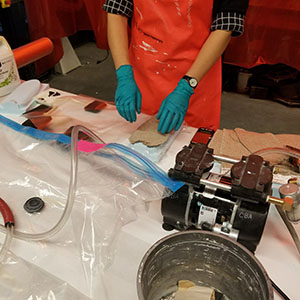
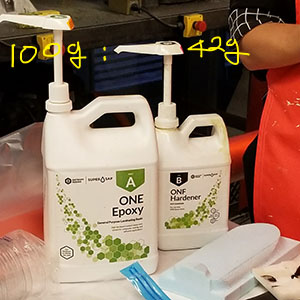
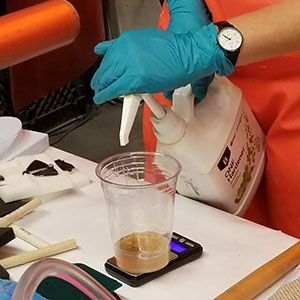
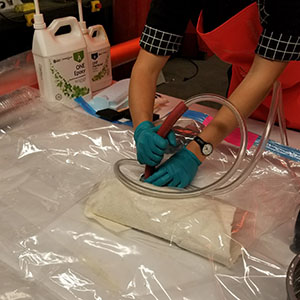
Stir well to mix the two parts of Supersap (A:B = 100g : 43g) epoxy. Only mix as much as you need as >50g of excess epoxy in a cup can under go an exothermic reaction that can melt the cup.
 |
 |
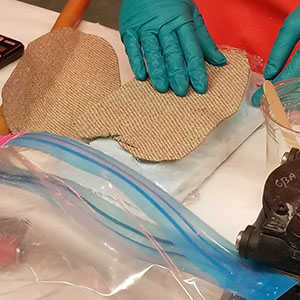 |
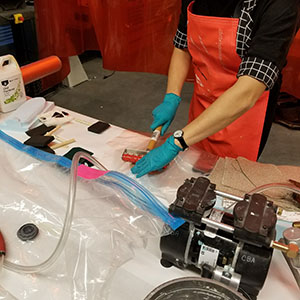
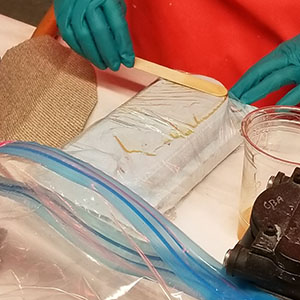
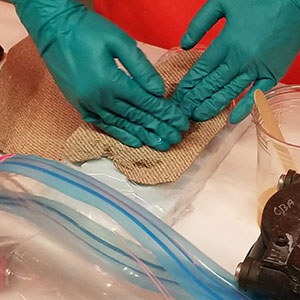
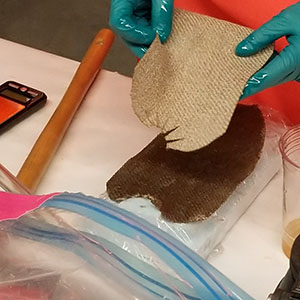
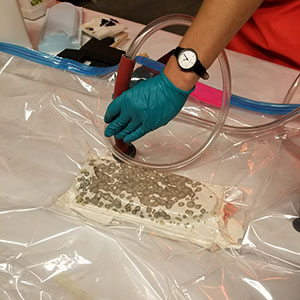
This demo uses the RockWest flax fabric
 |
 |
 |
 |
 |
 |
 |
 |